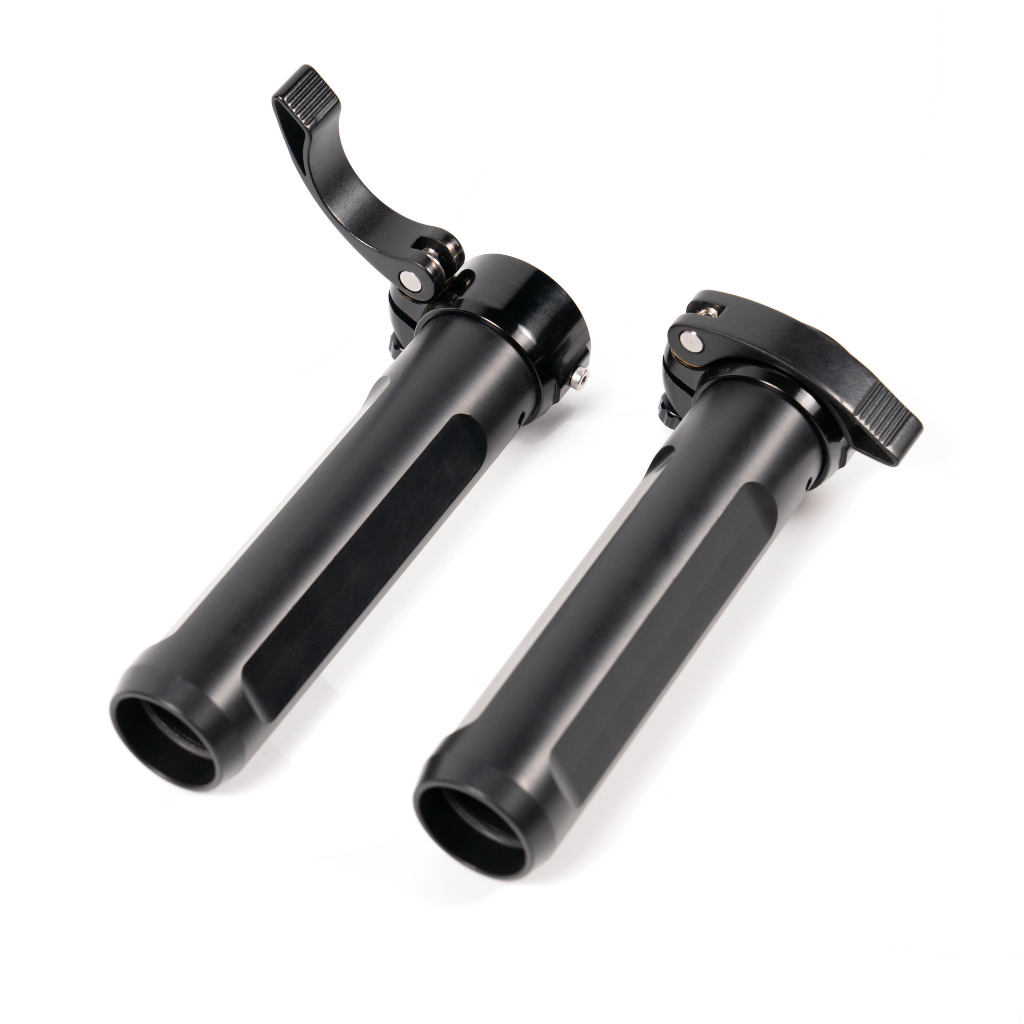
How to Install VEGA Arm ClampsUpdated 7 days ago

Installation of VEGA Arm Clamps
- Remove Existing Components: First, remove the ProArms from your Ready Rig.
- Slide VEGA Arm Clamps onto ProArms: Slide the VEGA Arm Clamps onto the ProArms, positioning them to make contact with the ProArm Clamps. Once in place, adjust the lever on the VEGA Arm Clamps by turning the dial knob to tighten and secure the clamp around the ProArm for a firm hold.
- Lock VEGA Arm Clamps: Once the VEGA Arm Clamps are in place, lock them down onto the ProArms using the locking mechanisms provided on the clamps. This may involve flipping a lever or tightening a screw depending on the specific model of your VEGA upgrade.
- Reattach ProArms to Ready Rig: After securing the VEGA Arm Clamps, reattach the ProArms back onto the Ready Rig frame. Ensure they are securely fastened and that there is no play in the joints.
Using the VEGA Arm Clamps
- Effortless Stowing and Unstowing with VEGA Arm Clamps: VEGA Arm Clamps are ingeniously designed not only for operational adjustments but also for their stowing capabilities. They facilitate easy stowing and unstowing of the ProArms, allowing operators to return the arms to the exact previous position without the need for rebalancing each time.
- Adjustment for Operational Comfort: The VEGA Arm Clamps are designed to allow for quick adjustment of the ProArms' pivot points. This adjustment is crucial for achieving the optimal balance and comfort while operating the rig.
- Fine-Tuning: You can fine-tune the position of the ProArms by loosening the clamps slightly, adjusting the position, and then re-tightening. This allows you to customize the behavior of the rig based on the specific requirements of your shooting scenario.
- Secure Locking: Always ensure that the VEGA Arm Clamps are securely locked during use to maintain the stability of the camera and rig. Check regularly for any signs of loosening or wear.